December 17, 2015

DIY Nightmare Before Christmas Wreathe


I made this NBC wreathe to go along with the Monster Wreathe I made for this holiday season.

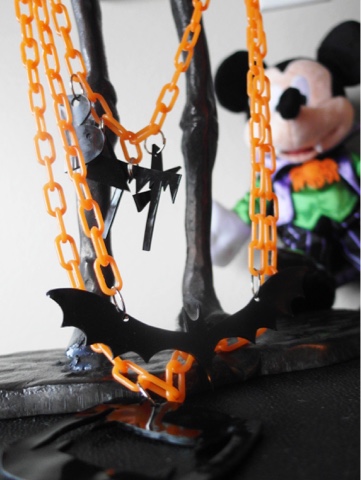
My inspiration for the wreathe was our Christmas tree and the below pics I took on our trip to Disneyland this past October.

One day I'll try to make this clock for Halloween

I need this candelabrum in my life now!


I took the simple approach to this wreathe. I had this white wreathe already so I didn't need to go out and buy one or make one. 

I added some some fake holly bits, a hand-painted striped bow and of course, a skellington head.

The bow was easy to paint, believe it or not. I couldn't find any ribbon that looked like the one from Disney so I bought some wide chalkboard ribbon and painted the stripes on myself. 

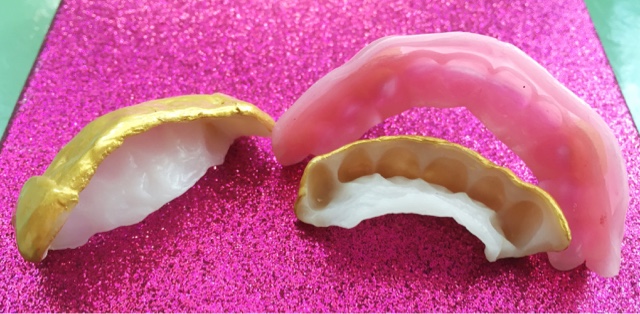
Now, the skellington head was not so easy to make. I tried Model Magic because it is lightweight, but I could not get it to mold how I needed it too, so I scrapped that idea. I went back to the air-dry clay that I used for the teeth in the monster wreathe. I haven't touched clay since high school, so this was not so fun for me. For the life of me I could not get it very smooth. You can see the bumps in mine but at some point I just had to say "fuck it" and go with it. Once the clay was dry I painted it white and added black eyes and nostrils. 

I had plans to make a garland with a skellington head as well, but didn't end up leaving myself enough time. Honestly, I didn't want to after I was done with this one. Maybe next year, if I can find an easier way to do it. 

 After re-reading this post it is kind of a bummer isn't it? I sound like a Debbie Downer.

December 14, 2015

DIY Disney Haunted Mansion Monster Wreathe


Ever since we went to Disneyland in October for my birthday, I knew I was going to try to recreate some of the decor surrounding the Haunted Mansion. It is by far my favorite ride there for obvious reasons and during Halloween it's a pure joy. The little kid in my comes out and I embrace it when I'm there. I should post about our trip one day because it was definitely a good time.

(This photo also has supplies for other DIY projects)

Supplies Needed:
1. Green Garland - I picked the cheapest one I could find
2. Strong Floral Wire - because the clay adds some weight
3. Wire
4. Crayola Air-Dry Clay
5. Plyers
6. Paint
7. Red Bow - I bought a cheap one that was already made

First, I took the strong floral wire and created an oval shaped wreathe to the size I wanted. Secondly, I attached the green garland to the oval shape with some wire all the way around to create a stronger wreathe.

(This is the picture of the wreathe I took at Disneyland that I feel in love with)

Once the wreathe base is complete you can begin attaching the features, but first you may want to make the features. 

I used air-dry clay to form the teeth and eyes. While the clay was still soft I put wire in each piece to make them easier to attach to the base once they were all dry. I made 12 teeth altogether; six for the top and six for the bottom. Once they clay was dry (it took around 48 hrs) I painted them white and used a matte modge podge as a clear coat. 

For the eyes, I painted them both yellow with black pupils. 

Using the clay; forming and painting each piece was the most time-consuming. Once all the pieces were ready it was a very simple wreathe to make. You could make the pieces out of anything your heart desires that would be easier, like cardboard, paper, felt, etc. 

After attaching each facial feature I adhered the red bow and it was ready to be hung. I love seeing it in our hallway of our apartment complex as I approach our front door. It makes me very happy. 


November 3, 2015

DIY Grillz & Fangz

dopey-eyed wanna be legit
This is my version of DIY grillz and fangs for Halloween. I've always wanted a grill, just a cool subtle one, or even a gold tooth. It's the inner thug in me. The thug that doesn't exist at all but I secretly wish I was. I used Ellie Macs SFX tutorial on YouTube. I pretty much followed it exactly, especially when it came to the DIY fangs. The best thing to make note is that continuing to dip the polymorph plastic into the hot water is the key to keeping the smooth. The great thing about the plastic is that it re-melts when it gets soft again. For the gold grillz, I used the Splendid Gold Decor Art dazzling metallics paint. It was the best gold that I could find without paying too much. There are a few things I would change if I did it again, but overall I love them! If you haven't seen Ellie Mac's videos you gotta check them out. She is the queen.
these ones are my favorite
My OG plan was to use these cartoony fangs for my halloween costume, but since, confession, I didn't end up dressing up this year, they sat on my counter. I was going to be a dragon, well, a girl/dragon. A girl turning into a dragon? I didn't have a name for it but I had it all planned out. I have just felt like ass for the last 3 weeks so I didn't end up doing shit. It's heartbreaking.

the best thing about these is that they are custom fit to your own mouth
because I love these new matte lip stains from Sephora and they are JEM!!

Seriously, these are a really good formula and last a long time.


*please disregard the formatting on this post, it will not correct not matter what I do for now.

October 25, 2015

Halloween Bloody Mani


I used OPI Samoan Sand as a base and then blotted the edges with the darkest of the colors firs,t which was OPI Lincoln Park After Dark, with a cotton swab. Then I blotted the next darkest red over that, which was OPI In a Holidaze. Then repeated that with the brightest red I have which is Super Black Cannibal. Finally I put a top coat on that bitch and called it good. 


October 18, 2015

DIY Halloween Necklaces


OK. These Halloween necklaces did not turn out as planned. Apparently, shrinky dink film hates me. It hates my touch, my presence and most of all my face. It took me a few tries to get to this stage. When that bullshit curls up it doesn't always lay flat back down while it's in the oven. I won't lie, this was not easy. We did not get along and I won't be inviting it over for a sleepover ever again. With all said said, here are some photos to make them appear as cute as possible. 
This is supposed to be those plastic vampire teeth. This is the one I tried 3 times. I forgot to make small cutouts for the other teeth. 
The bat is my favorite of the bunch. 


These guys wanted to say hi. 

October 13, 2015

Halloween DIY Painted Sculpture

Adding the before pic so you can have a better idea of what I actually did since I've had a few questions. All I did was paint over an already cool statue. 

After :)