
I'm not an expert NOR did I go to cosmetology school so if you'd rather not listen to me on this one that is fine. I don't blame you. Although, with the little bit of trouble I had getting my hair color to go the red that I wanted it to go it did end up turning out great.
I will say (horn tooting) that I have been dying my hair since high school by myself and have never ruined it. It's never fallen out or burned up into a frizzy mess. (my hair is unfortunately frizzy all on it's own)
I want to share my experience because if I had read something that gave me useful tips I would been so grateful. The only things I read were for people that had to lighten their hair for it to take or could afford to have it done professionally. I can't afford to keep that up. This is so much cheaper and if you have patience or better yet someone who is willing to help you with the back then it's worth it.
My natural hair color is dark brown.
I did not have to lighten my hair before I dyed it red.
I didn't use a box from the grocery store.
I went to a beauty supple store.
I bought the following items:
gloves - a must - some might think this is a no-brainer but it's easy to forget, trust me
plastic applicator bottle with measurements on the side in ounces
hair clips
plastic comb
smock
coconut oil or vaseline
*L'Oreal Oreor 30 Volume Creme Developer 8 oz
*L'Oreal Excellence HiColor - in Red for Dark Hair Only

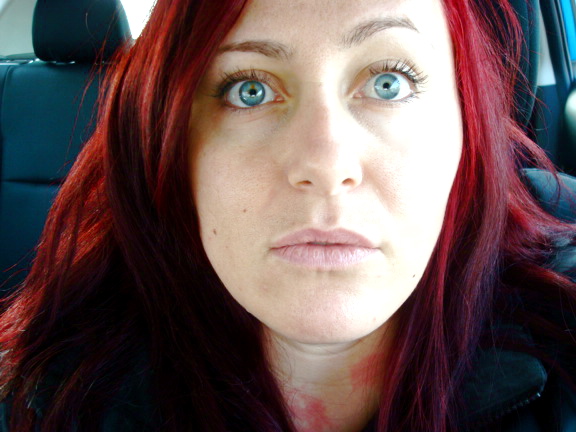
Follow the directions on the box. They are there it's just in very small print. I use the plastic applicator to measure the developer and the dye. I don't use a mixing bowl. I like to do it in the bottle and then you can just shake it up. Although this hair color is super thick. It does take time to mix this way. The hair color I listed above is brighter than it looks in the store or on the box. Plus the color I posted is of magenta not red. My hair has stayed brighter for much longer than I thought it would too. My hair works best when it's clean and dry; others hair works better when it hasn't been washed for a few days.
Before I dye my hair I put coconut oil (or vaseline) around my hair line, on my ears and on my neck. (another lovely tip from a gay man - different gay man) I comb the dye through small sections and then clip them to the top of my head. I start at the top and front and work my way back and underneath. I keep mine on for at least 30-35 minutes even though the box says 25 but that's because of the black parts of my hair. The first day the top of my hair is super bright red but it's less abrasive after your next wash but does not get dull.

The cool thing with this dye is that since you didn't need to lighten your hair beforehand, when your roots grow out it's not so noticeable PLUS when it starts to lighten it doesn't turn pink or orange. That's my favorite part.
Hope this helps - email me if you have any questions. I'm thinking of going auburn or magenta next.
you may also like:
4 comments:
I love it! And that first picture is awesome!
Awesome, good to know! I have dark brown hair and have coonsidered dying it red - perfect!
P.S. I keep trying to add your blog button, but when I click it, it doesn't link back to your pacge. :(
It's such a flattering and hot color on you!!
And this is a great tip. I've had dark brown hair for about 1.5 years now and am desperate to go back to blond, gradually.
Thanks everyone! I had such a hard time finding good help online so I thought it would be nice to share the love.
Post a Comment